
Week 3 of the Shield of Baal Campaign has started and I just got in my game today. 1,850 points, I was playing against Patrick with his Mantis Space Marine Chapter which utilizes the Ultramarines Chapter Tactics.
 |
| Patrick's Mantis |
HQ
Chapter Master with Artificier Armour, Bike, Power Fist and Storm Shield
Chief Librarian Tigurius
Troops
Bike Squad with Grav Gun x2 and Space Marine Bikers x7, Biker Sergeant
Bike Squad with Grav Gun x2 and Space Marine Bikers x7, Biker Sergeant
Heavy
Centurion Devastator Squad: Centurion with Grav-cannon and grav amp and Hurricane Bolter x3
Land Raider Redeemer with TL Assault Cannon and Two Flamestorm Cannons
Thunderfire Cannon x2
Knight Paladin with Rapid Fire Battle Cannon, Reaper Chainsword and Two Heavy Stubbers
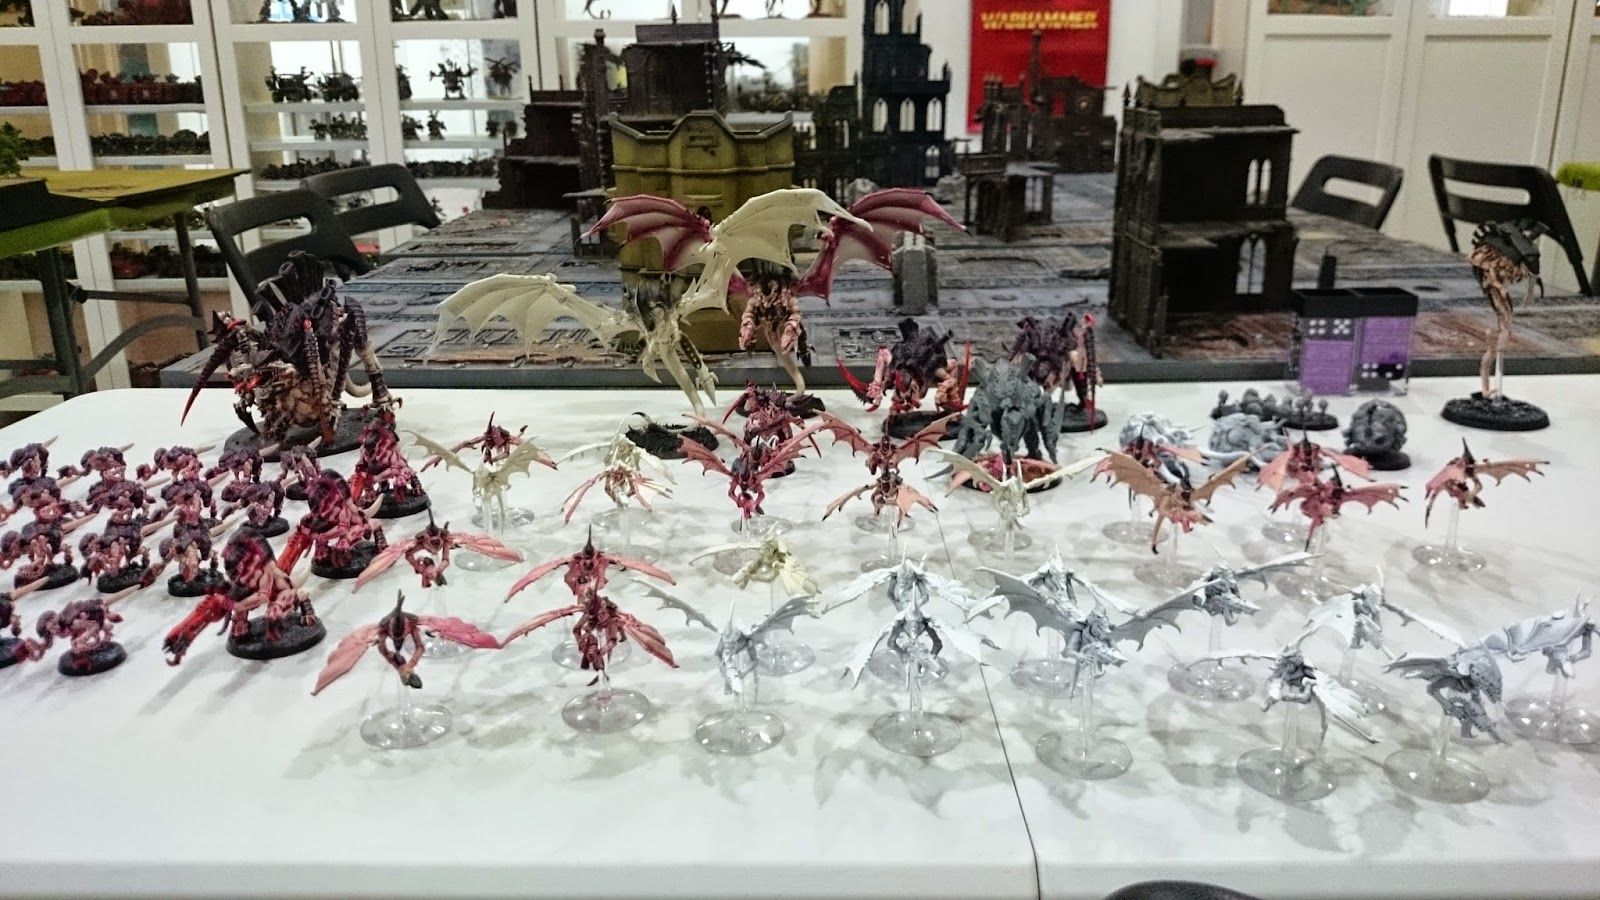 |
| Tyranids |
HQ
Flying Tyrant with Twin Linked Brainleech Devourers
Warrior Prime with Twin Boneswords and Scything Talons
Troops
Tervigon
Termagants: 20 Fleshborers and 10 Devourers (attached to the Warrior Prime)
Mucolid Spore x3
Rippers x3
Elites
Malanthrope
Hive Guard x3
Heavy
Carnifex with TL Brain Leech Devourers
Carnifex with TL Brain Leech Devourers
Carnifex with TL Brain Leech Devourers
Skytyrant Swarm
Flyrant with Toxin Sacs, Bonesword with Lashwhip
Gargoyles x15
Gargoyles x15
 |
| The HQ |
 |
| Rushed to prepare him for this game |
 |
| The Broodmother |
 |
| Tyranid Psychic Powers |
These special rules really made the game quite interesting as the player is forced to think outside of the box and really consider how he will tackle the enemy with his current assets.


 |
| Mantis deployment |
Turn 1
My army was split apart due to the special scenario rules. My hard hitters were on the left flank and the Carnifexes were in all 3 table sections.
 |
| Section 1 contained my Prime, Gants and Fex. I would struggle to deal with those two thick armoured vehicles. |
 |
| Meanwhile my Skytyrant Swarm turned up on section 3, furthest away from the main threats |
 |
| While the Hive Guard, Malanthrope and other Flyrant turned up on the other side of the table. Target the Flyers did not manage to do any wounds to my Flyrant |
 |
| Carnifex snuck up behind the Imperial Knight and manage to ping off 3 Hull Points |
 |
| In Patrick's turn, the Bikers came in this corner, the one corner that contained my Str8 models |
 |
| And another unit pops in to support |
 |
| While the Land Raider reversed and deployed the Centurions to take out my Tervigon in the corner. Pat scored First Blood |
 |
| The bikers wipe out the unit of Hive Guard who failed their Break Test |
 |
| And the IK charges the Carnifex to kill it |
Turn 2
 |
| I reorganised my lines. The large unit of Gants with the Prime have taken severe beating from the Thunderfire Cannon. |
 |
| Meanwhile my Skytyrant Swarm moved up midfield to threaten the Centurions |
 |
| Threw some fire into the Bikers and the Chapter Master actually took 3 wounds, limping on one. |
 |
| But in Pat's turn he threw his IK into my Tyrant |
 |
| I had also forgot about Smash which allowed me to reroll my Armour Penetration result (I rolled a 12) |
 |
| Pat regroups his bikers and peppers all the TFC fire into my Warrior Prime, destroying the unit except for the Warlord |
Turn 3
I knew I had to forgo killing and just go for the objectives so focussed on doing so.
 |
| Swooped the Flyrant over to help my Prime to kill his Warlord |
 |
| I charged my Prime who is also the Warlord into his |
 |
| I took a wound but killed off one Biker. The Chapter Master regenerates 1 wound. He is now on 2 wounds! What the... |
 |
| Pat moved his bikers closer to the objectives. I had little left so he could concentrate on killing off the Flyrant |
 |
| Try though they did, the Pale Death jinked and rolled to survive |
 |
| The Chapter Master successfully slays my warlord giving Pat 1VP |
Turn 5, 6 and 7
 |
| It was now the hunt for the Pale Death. |
 |
| I chose to fly back and forth trying to take out his Warlord but to no avail |
I only had one model! The Pale Death was really earning its place
 |
| Surviving on 1 wound! |
Final tally:
Hivefleet Levithan: 6VPs
Mantis Chapter: 8VPs
Pat played well. He prioritized the targets and had designed his list to counter the Nids. Arm14 are tough to beat and I could do little to apply enough pressure to kill off sufficiently due to the scattered army. In hindsight I would take a turn to reorganize my army and then send them forward to really apply sufficient pressure on key units.
I lost 3 Mission Points for the Campaign. The Tyranids are currently at 0 Mission Points while the Imperials are at 10 Mission Points!
No comments:
Post a Comment